


One of the reasons I purchased a Toyota 4Runner was for its off-road capability. I debated between which trim level and off-road features to purchase, and dreamed of endless off-road adventures. I was going to chase down those beautiful destinations that you see all over the internet. Couldn’t wait to hit the mud!
In reality, the first time I drove down a dirt road I went about 5 mph and avoided every single tiny obstacle I could see. I was too scared of damaging the truck, so turned around after about a mile when the road started to get “rough”.
It wasn’t until I went off-roading with a few friends in Arizona that I learned to ease up on my fears. We took the back road to Oatman and ended up getting lost in a wash. Driving out of the wash required following a very narrow trail up a small ridge. Not only did I hit my skid plate on a large boulder, but I also found out what desert pin stripping was. My truck was no longer in pristine condition!


TRD Off-Road Premium versus TRD Pro
Back when I was purchasing my 4Runner, I started comparing the different trim levels and the price difference between them. Leather seats were a non-negotiable as they are so much easier to clean and tend to smell less with the pets (the 4Runner really has a “pleather” type material). The other non-negotiable was a sunroof, as previously I had used these extensively in my other vehicles (funny thing is I’ve used it less than 10 times now in the 4Runner).

I also wanted to have the upgraded off-roading features, such as the crawl mode. This only came in the TRD Off-Road Premium or TRD Pro versions. However, there was almost a $7,000 MSRP difference between these two models. In doing the research, I found the main difference between the two models (other than cosmetic items such as the grill, wheels and colors) was Bilstein shocks, upgraded springs and an extra skid plate with TRD markings. Through quick research I knew I could put on an upgraded suspension for well under $7,000.
I also was able to secure a very good deal on a TRD Off-Road Premium model, thereby bringing the difference in price between the two further apart. With the upgraded suspension in mind, I went for the great deal and knew in the near future I would work to upgrade the suspension.
Bump Stops
The trip to Oatman made me realize how much I enjoyed being able to cruise down the dirt roads and explore the back country. Unfortunately I had previously made an upgrade to the rear suspension which created a terrible off-road experience.
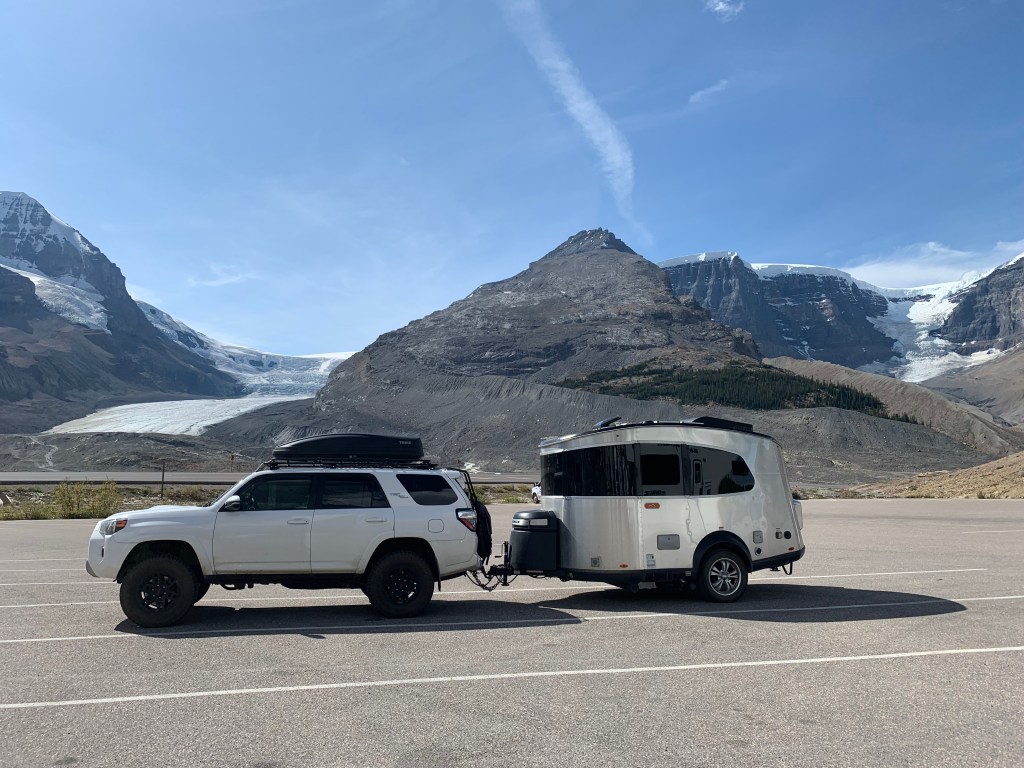
When towing the Airstream Basecamp, the stock 4Runner suspension will sag drastically under the heavy tongue weight. In order to fix the sag, I installed Timbren Bump Stops. This fixed the sag issue for less than $500 with installation. When towing, the suspension felt extremely smooth and comfortable. I had read in reviews that it could make off-road driving less comfortable, but figured it couldn’t be that bad.

Oh, but it was! With the bump stops installed, they only allowed for an inch or two of room for the suspension to move before hitting the bump stops hit the rear frame. This meant with any type of rough terrain, the rear frame would continually hit the bump stops quite hard. While heading to Oatman, my friend who was sitting in the back seat hit his head multiple times on the roof of the 4Runner due to the poor ride. Jasper was also being thrown all around. It was not a fun experience for anyone.
That’s when I decided it was time to build out the 4Runner. I could have switched back to the stock bump stocks and gone with a weight distribution hitch to fix the sag, but I figured this was the time to create the 4Runner of my dreams. May as well put the mods on now while I have low miles and can enjoy them for a long time!
Picking out the Mods
I don’t know much about suspensions or lifts, so I began to read 4Runner forums. After spending hours reading and trying to wrap my head around what was going on, all the information and opinions out there became too overwhelming. I reached out to a few friends to see what they thought, and each had their own suggestions on what brands and mods were the best.
At that point, I decided this was more than I wanted to sit down and figure out. Instead, I began researching small off-road shops that had extensive experience with 4Runners and found RSG Off-Road in Denver, CO. They had amazing reviews, their website was filled with custom Toyota’s, and many forums mentioned their great service. Perfect.
(Note: I am not sponsored nor receive any type of commission or discount from RSG. Just sharing the experience I had).
I literally sent them an email that said “I own a 2018 4Runner TRD Off-Road. I would like to upgrade the suspension, put on a 3” lift, upgrade to 33” tires, place air bags on the back suspension and install some LED light bars on the front.” I then proceeded to explain that I lived in an Airstream, meaning the 4Runner towed about 450lbs of tongue weight quite often, and that I wanted it built to drive comfortably down rougher dirt roads, but not for intense off-roading such as rock climbing.

Then I sat back and waited. That same day RSG reached out asking a few more clarification questions. I spilled everything I thought I knew about suspensions and off-road gear and how I dreamed of the 4Runner looking, including some images I had found offline. Several emails and phone calls later, RSG had a complete quote and parts list ready for my dream 4Runner build.
That’s when my mouth dropped on the floor. The original quote was for $10,000.
Thankfully, the quote was nice and detailed and showed me the labor breakdown and cost per mod, so I started going through them one by one to see what I really wanted versus what were the nice to haves. It also showed the price for the parts, so I began shopping around online.
Suspension
The suspension was the main upgrade I was looking for, and knew I wanted to proceed with that mod. Still not knowing much about suspensions, I tried searching the internet for the parts, but couldn’t find them for much cheaper than RSG had quoted. Therefore, in the end it was just much easier to tell them to go ahead with the full suspension upgrade as per their recommendation.

I had also done some initial research and was leaning towards the Icon Stage 2 suspension. After talking with RSG, they mentioned this particular suspension, although great, does require maintenance. They instead recommend a Bilstein setup which has zero maintenance and was $600 cheaper.
They ended up installing Bilstein 6112 & 5160 shocks, SPC upper control arms, and OME rear coil springs. While installing these, they lifted the 4Runner 3 inches as well.

I still can’t explain much of that suspension to you, but I can tell you it rides very well off-road. Now having a year and a half with this new suspension, there have never been any issues and it has done very well from wide open desert roads to steep rocky roads in Colorado. Jasper also highly enjoys the new 3″ lift, as he can comfortably curl up under the 4Runner for some shade.
Rear Air Bags
Part of my conversations with RSG was around fixing the sag caused by the tongue weight of the Airstream. I could have installed heavy duty rear springs; however, this would have caused the new suspension to still feel very uncomfortable and stiff. In the end, we settled on installing rear air bags that I can inflate when towing, and deflate when taking the 4Runner off-road.

RSG installed Air Lift 1000 rear coil springs.
The first time filling these air bags up, I almost overinflated them. They don’t take much air at all! After a quick second of the air compressor they are already up to the 15-20 psi that I need when towing. For off-roading, I drop this down to 5 psi.
The air bags greatly reduce the rear sag when towing. I can tell when I have forgotten to re-inflate them, as the hood of the 4Runner is pointing up much more than it usually does. It still amazes me that such a small amount of air can create such a big difference.
Tires & Wheels
This was a bit of a splurge, but I really didn’t like the stock rims on the 4Runner. One of the aesthetic parts I really liked about the TRD Pro was the black rims. Also, by having the 4Runner lifted 3″, it was now possible to put on larger tires and get a more aggressive tread. The nice part was the original stock tires were still in very good shape, so I was able to sell those and put the money towards the new tires.
In order to save money, I purchased the wheels and tires myself, then shipped to RSG. The prices were much more reasonable this way.

The TRD 17 inch matte black wheels were purchased from a Toyota dealer for $187 a piece. Also, by installing these new wheels, I no longer needed the wheel spacers required for the suspension upgrade. These wheel spacers would have cost $280 installed, so I figured why not go for the upgraded wheels since I had to invest at least the $280 into this area anyway.
For wheels, RSG recommended the Falken Wildpeak AT3W. I found the best deal on them through Amazon and shipped them straight to RSG. With the new lift, I was able to install 285/70R17, which are almost 33″ in diameter. I have taken these tires through upstate NY winters, Arizona deserts, Colorado rocky mountain roads and regular driving down the highway. They have done very well under every scenario. The best part is they are quiet on the highway, even with the aggressive tread.
Air Compressor
At the time, I considered an on-board air compressor to be a nice to have and wasn’t sure if I should have it installed. However, the small $50 compressor I had from Walmart broke after the first use so I would have had to buy another portable air compressor unit to carry along anyway. Therefore I decided to spend the extra bit of money up front to have a compressor that could be mounted right in the engine bay so I didn’t have to try to figure out a place to store it.


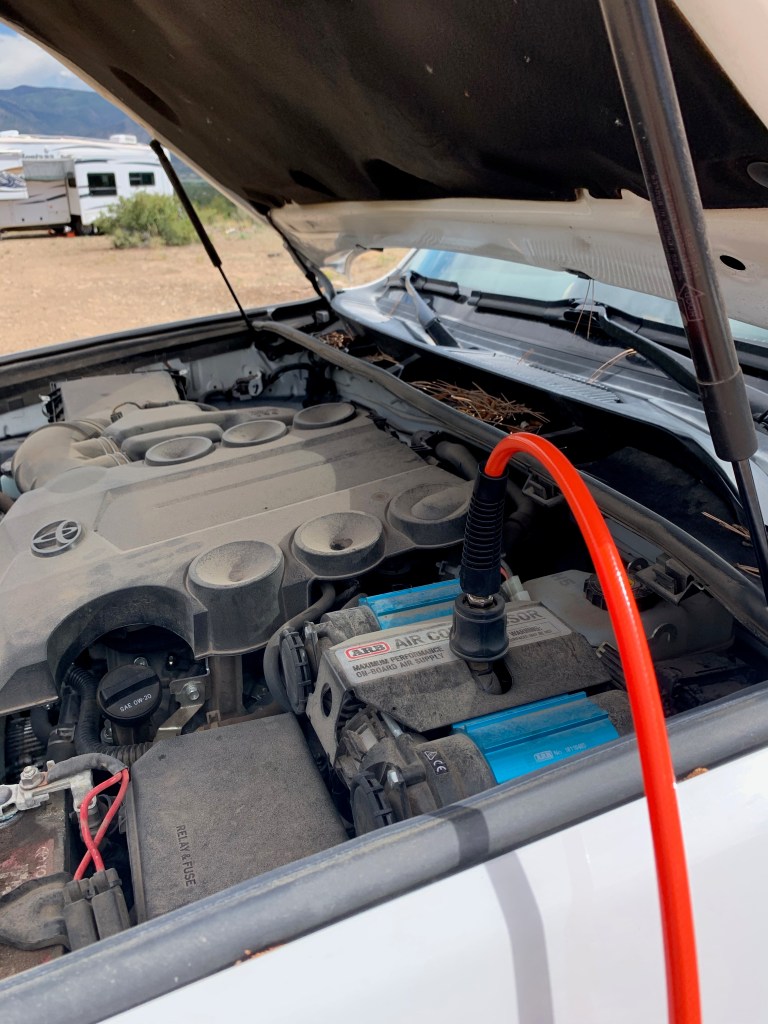
I went with the ARB On-Board Twin Air Compressor. In the end, I think this is the mod that I enjoy the most. It’s such a relief to know I can refill the air in my Airstream or 4Runner tires whenever I need. During off-roading trips, it’s very easy to air down the tires, and refill them at the end of the dirt road before hitting the pavement. Recently I had a slow leak in my front tire while out boondocking. I woke up to only 24 psi in the tire. A quick fill with the onboard air compressor and I was good to go.

Mods I Never Installed
Originally I had wanted two light bars on the front of the 4Runner. One would have been mounted inside the grill, while the other would be mounted right below my Gobi roof rack with Rago light mounts. It was one cool looking setup. However, these two mods would have cost $2,700 themselves. At the time, I decided they fell lowest on the priority list and that I wouldn’t proceed with them.
In the end, I’m very happy I didn’t have them mounted. Even with all the boondocking we do, I have never been in a situation where I needed more light. I’m typically not out off-roading in unknown terrain after dark, where these type of lights would make me feel more comfortable. The stock headlights are plenty to find my way back to my campsite after dark.
Conclusion

In the end, I spent around $5,500 for all of the above mods. Although still expensive upgrades, I was able to get upgraded shocks, rear air bags, new tires and wheels as well as an on-board air compressor, all for less than if I had just purchased a TRD Pro to begin with.
I saved a lot of money by shopping around for the parts and then just paying for installation. A year and a half in, with almost 35,000 miles on these upgrades, everything is still working as well as it was on Day 1. Usually I don’t just go with what a dealer recommends without doing a ton of research to back up the decision, but in the end I’m glad I trusted the experts on this one.

NOTE: THE AMAZON LINKS PROVIDED BELOW ARE PART OF THE AMAZON AFFILIATES PROGRAM. IF YOU MAKE A PURCHASE THROUGH THESE LINKS, AS AN AMAZON ASSOCIATE I EARN FROM QUALIFYING PURCHASES. THIS DOES NOT COST YOU ANYTHING EXTRA.